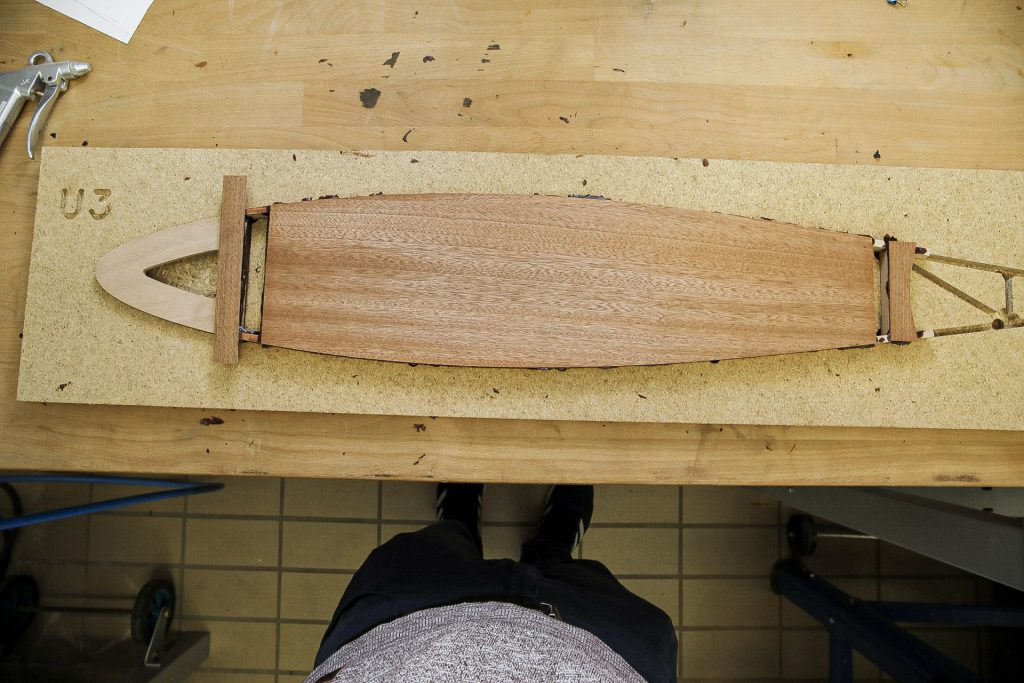
This semester our wing team managed to complete all rib assemblies.
The ribs are wood construction and later used to define the wing structure. The ribs are lined up on the stringers to build the fully assembled wing.
To construct a single rib many process steps are needed.
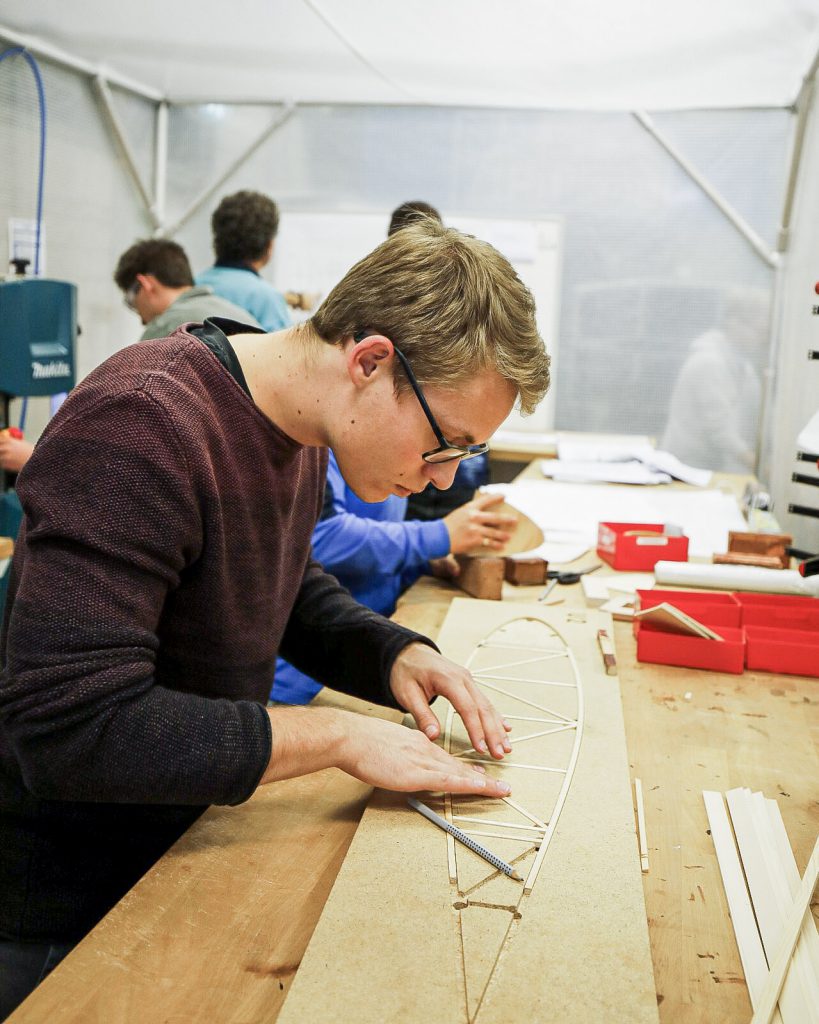
The rib assembly starts by cutting the wooden slats to defined dimensions. Precision is key, deviation can only be tolerated down to the millimetre. For the glue to hold later, a clean contact between wood and wood must be ensured.
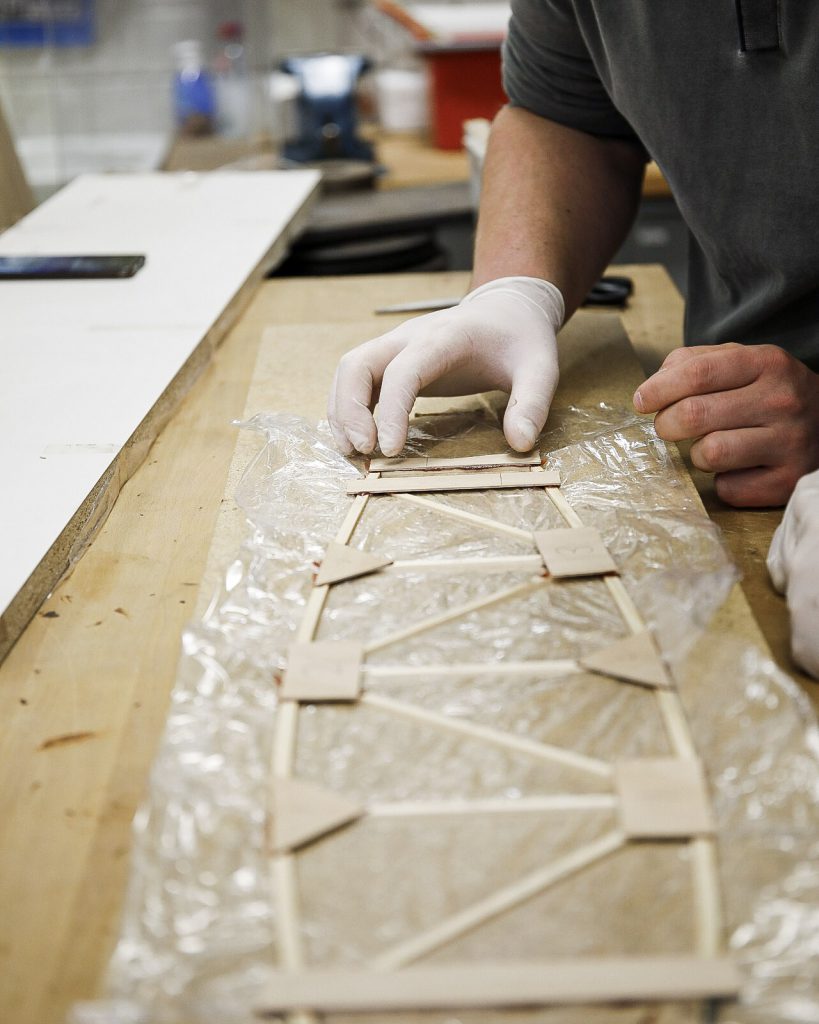
The wooden slats are fitted into a negative form. So that we can use the negative form more often, the form is covered with transparent foil before applying glue.
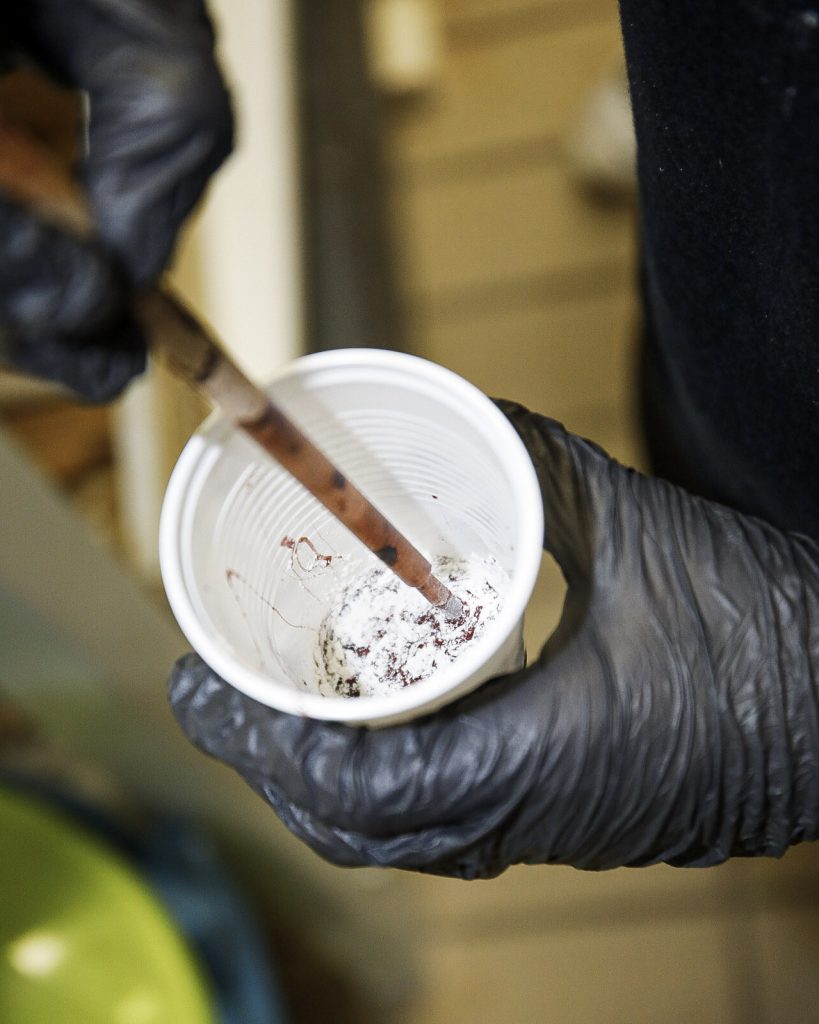
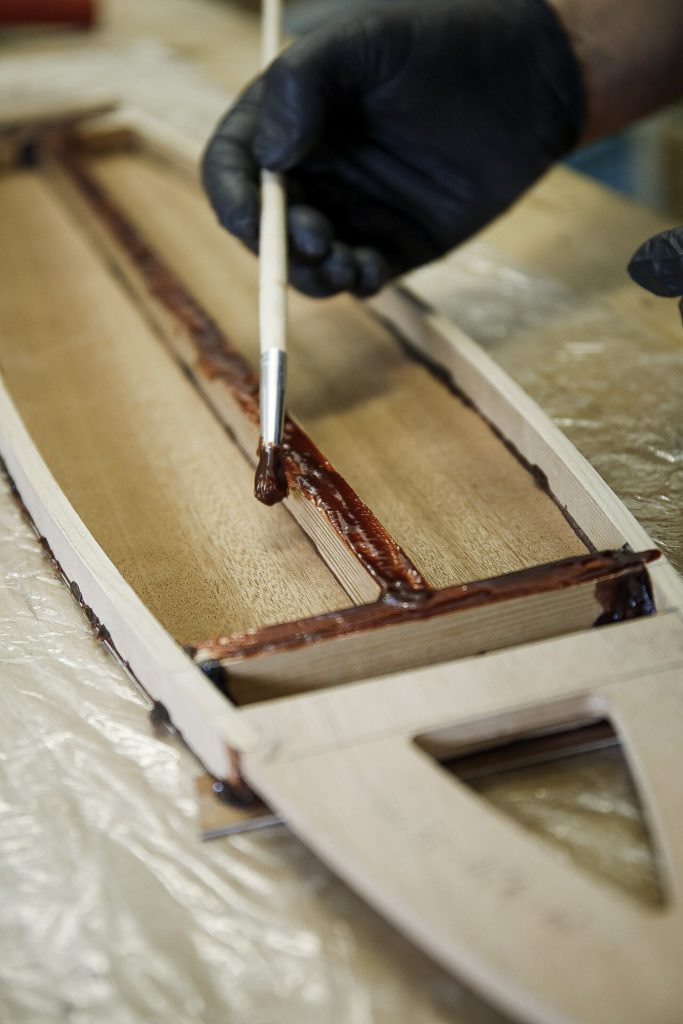
The adhesive is mixed with a microbalance and can only be used for a few minutes.

The glue and hardener must be perfectly mixed, otherwise, the glue could loosen under load and in the worst case lead to a damage of the wings.
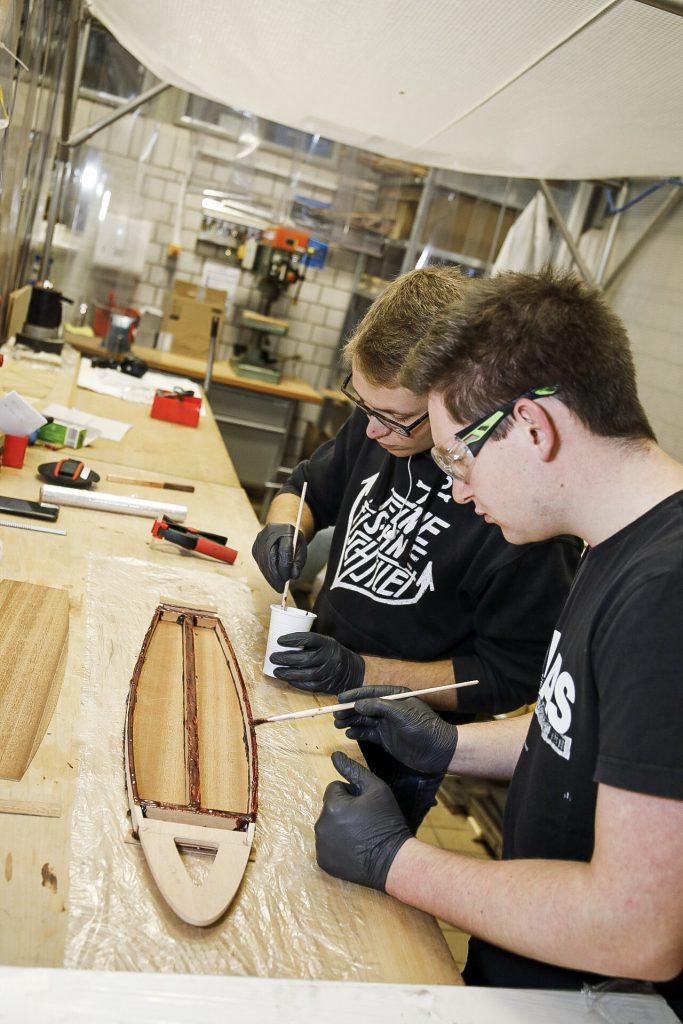
The glue is applied with a brush.
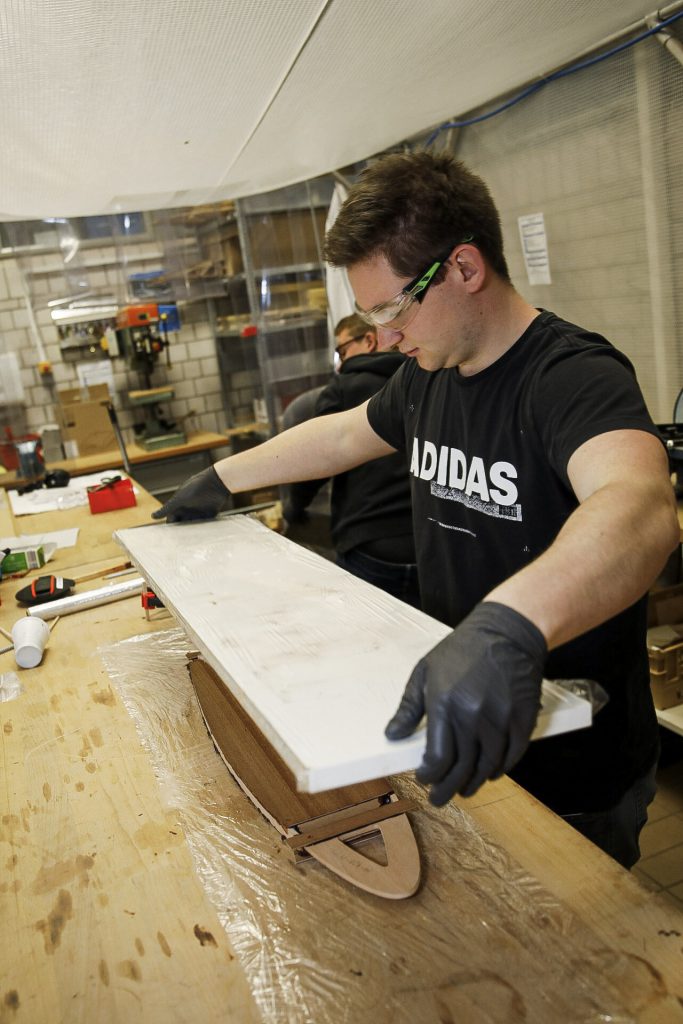
After the glue has been applied weight is applied to ensure a perfect connection.
After glueing, protruding edges must be sanded off.
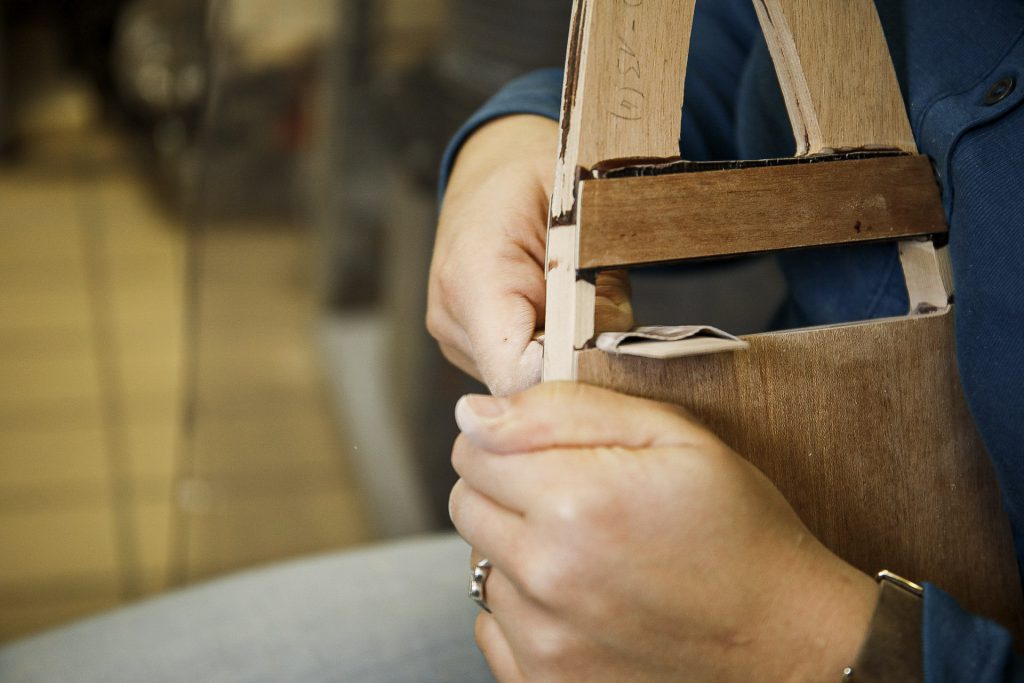
The before and after of the sanding process.